Before we start
our installation first we need to understand one thing, BRMS
development environment Vs runtime environment. BRMS rules
development environment needs git repository for asset storage &
versioning, kie maven repo for kjar (binary form of rules project)
artifact repository management, but rules execution (runtime)
environment needs only runtime dependency jars and kjar not git
repo, if you are using kie execution server, you just need the kjar
only. Runtime cluster just based on your application server (EAP)
clustering, not required for any additional settings. You may just
deploy the Rules Execution Server on EAP container. EAP cluster will
take care of the kie server clustering just like any other web
application deployed on the EAP server.
But
In development environment, you need to cluster the git repository,
to do that BRMS using Apache
ZooKeeper and Apache
Helix.
Now let us get
back to the installation.....
In this
installation process, we are going to see step by step instruction
for JBoss BRMS development clustering and Maven repository HA. This
is highly available business process management system, developers
and users can use the system 24/7 without any interruption or
downtime delay. In a team environment, authorized developers can see
or get the updated (edited by other team member) copy of the assets
or file. Here in this example we used 5 VMs to demonstrate this HA
architecture. The below diagram explains the high level architecture
of the BRMS HA development environment.

BRMS VFS Cluster and Maven Repository HA Architecture Diagram
 BRMS Git Repository Cluster Architecture

BRMS Git Repository Cluster Architecture
1. BRMS VFS Cluster and Maven Repository HA - Environment Overview
In this BRMS cluster
demonstration we used 5 VMs,
VM1
Load Balance setup done in the
VM1, client system access the BPM development service using this VM1.
- RHEL7
- Load Balance
- BRMS Git Cluster Software
- ZooKeeper
- Helix ( Helix Admin )
- ZooKeeper
- Helix ( Helix Admin )
VM2
- RHEL7
- EAP 7
- BRMS 6.4.0 - Business Central
- Helix ( Helix Controller
)
- Maven
VM3
- RHEL7
- EAP 7
- BRMS 6.4.0 - Business Central
- Helix ( Helix Controller
)
- Maven
VM4
- RHEL6.5
- Red Hat Cluster
- Luci HA Management
Application
- Maven Nexus Repository Manager
VM5
- RHEL 6.5
-
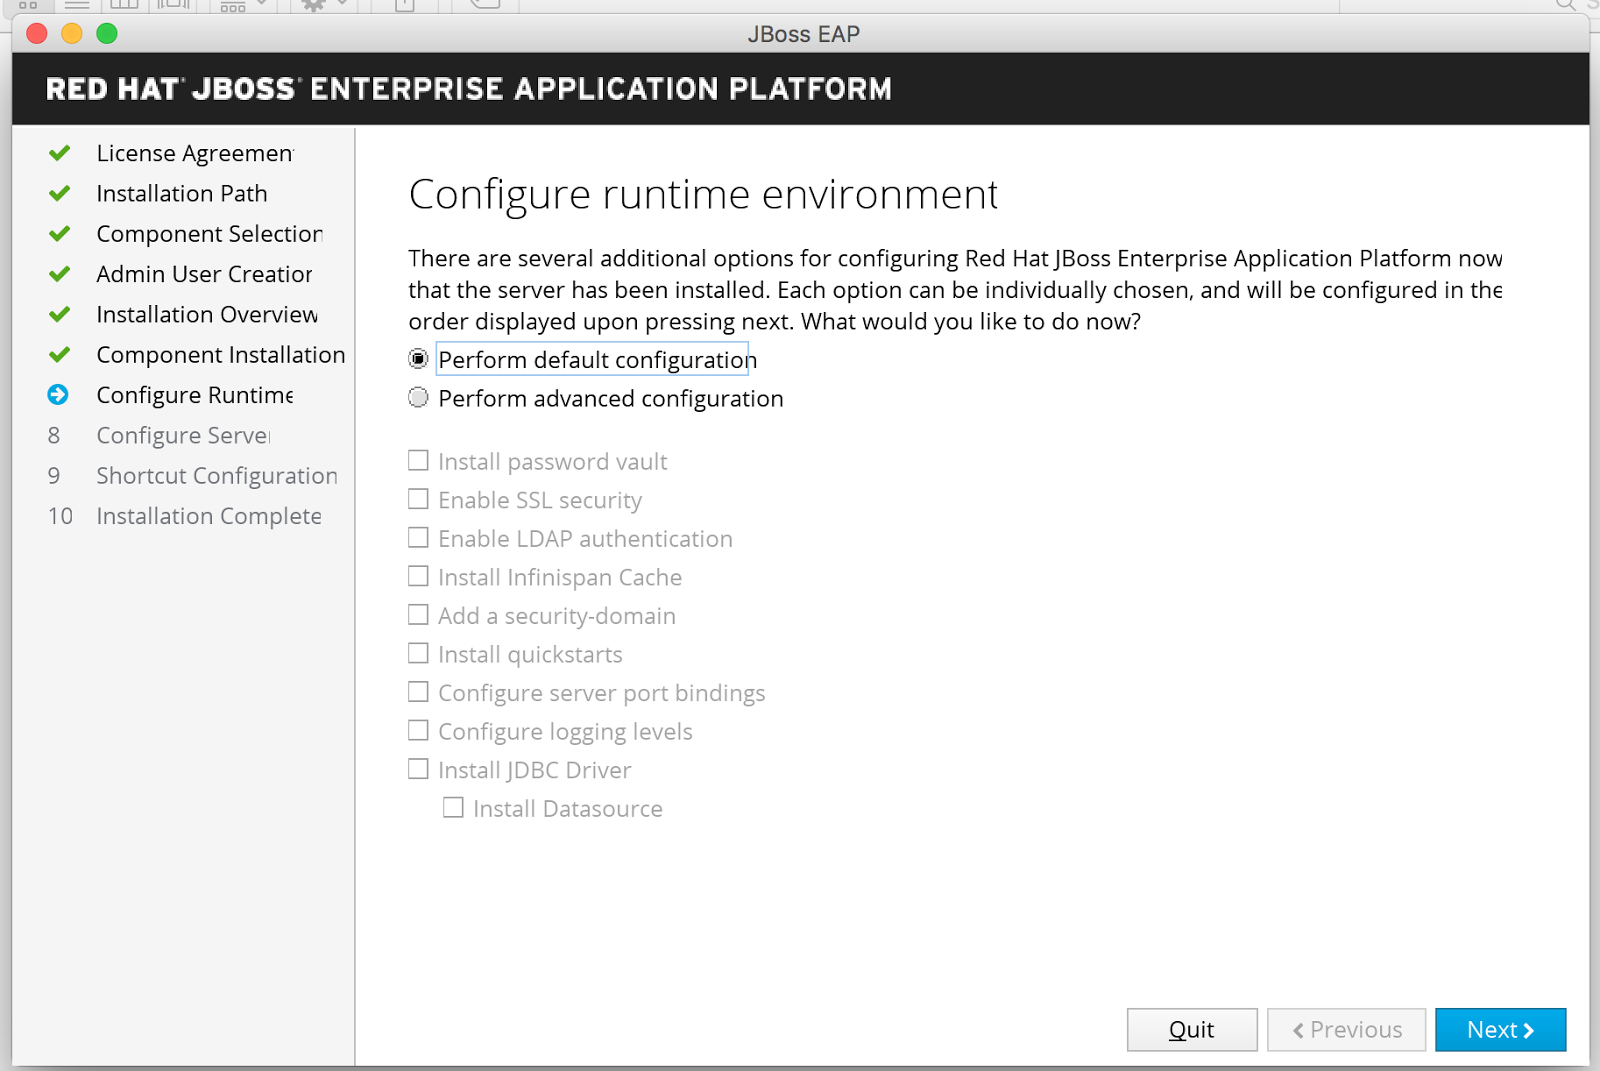
2. Installation Steps
In this step we are installing
and clustering EAP server in standalone mode and then installing BRMS
6.4.0 on EAP cluster and also installing mod-cluster for load
balancing.
2.1 Install EAP 7 and BRMS 6.4.0
- Install EAP 7 in
standalone mode on VM2& VM3 and cluster those two EAP 7
servers.
- Install BRMS 6.4.0 on
EAP 7 server cluster (on both VMs, 2&3)
- Install Apache Web
Server
- Install mod_cluster for
load balancing
- Start EAP 7 server
(VM2&VM3) cluster in standalone HA mode.
2.2 BRMS 6.4.0 Clustering (Git Repository Clustering)
(In this step we are about
to cluster the BRMS on top the EAP cluster environment)
BRMS installed on both EAP
server having and managing its own VFS based assert repository backed
with GIT. This asset repositories stores all the assets such as
rules, decision table, data model etc..Since this VFS resides on each
local server, then it must be kept in sync between all servers of a
cluster, Apache Zookeeper and Apache Helix to accomplish this.
Zookeeper glues all the parts
together, Helix is the cluster management component that registers
all cluster details (nodes, resources and the cluster itself).
Uberfire (on top of which Workbench is build) uses those 2 components
to provide VFS clustering.
2.2.1 Download Zookeeper
Download
the jboss-bpms-brms-VERSION-redhat-supplementary-tools.zip, which
contains Apache Zookeeper, Apache Helix.
2.2.2 Setting up a ZooKeeper server in standalone
mode
Setting
up a ZooKeeper server in standalone mode is straightforward. The
server is contained in a single JAR file, so installation consists of
creating a configuration.
-
Once
you've downloaded ZooKeeper, Unzip Zookeeper into a directory,
(eg,$ZOOKEEPER_HOME ).
-
Navigate
to zookeeper_home/conf and make a copy of zoo_sample.conf to
zoo.conf
-
Edit
zoo.conf and adjust settings (dataDir and clientPort) if needed,
these two are important in most of the cases. Change the value of
dataDir to specify an existing (empty to start with) directory.
#
the directory where the snapshot is stored.
dataDir=/tmp/zookeeper
#
the port at which the clients will connect
clientPort=2181
-
Navigate
to zookeeper bin directory:
$
cd $ZOOKEEPER_HOME/bin
-
Start
the Zookeeper server:
bin/zkServer.sh
start
-
If
the server fails to start, verify that the dataDir (as specified in
zoo.conf) is accessible.
-
ZooKeeper
logs messages using log4j. You will see log messages coming to the
console (default) and / or a log file depending on the log4j
configuration.
Running
ZooKeeper in standalone mode is convenient for evaluation, some
development, and testing. But in production, you should run ZooKeeper
in replicated mode.
2.2.3
Configure the cluster in Helix
-
Unzip
Helix into a directory, the extracted directory is your helix home
($HELIX_HOME).
-
Navigate
to Helix bin directory
$
cd $HELIX_HOME/bin
-
To
create the cluster, please type the following command and enter,
./helix-admin.sh
zkSvr XX.XX.XXX.XX:2181 addCluster repoCluster
Command
format details:
($HELIX_HOME/bin/helixadmin.sh
zkSvr ZOOKEEPER_HOST:ZOOKEEPER_PORT --addCluster CLUSTER_NAME)
Once
you've downloaded ZooKeeper, Unzip Zookeeper into a directory,
(eg,$ZOOKEEPER_HOME ).
Navigate
to zookeeper_home/conf and make a copy of zoo_sample.conf to
zoo.conf
Edit
zoo.conf and adjust settings (dataDir and clientPort) if needed,
these two are important in most of the cases. Change the value of
dataDir to specify an existing (empty to start with) directory.
Navigate
to zookeeper bin directory:
Start
the Zookeeper server:
If
the server fails to start, verify that the dataDir (as specified in
zoo.conf) is accessible.
ZooKeeper
logs messages using log4j. You will see log messages coming to the
console (default) and / or a log file depending on the log4j
configuration.
2.2.3 Configure the cluster in Helix
Unzip
Helix into a directory, the extracted directory is your helix home
($HELIX_HOME).
Navigate
to Helix bin directory
To
create the cluster, please type the following command and enter,
2.2.4 Add nodes to the cluster
Usually
the number of nodes in the cluster equal the number of application
servers in the cluster.
The
node names (node1, node2 ...) can be changed as needed.
Command
format details:
(
$HELIX_HOME/bin/helixadmin.sh zkSvr ZOOKEEPER_HOST:ZOOKEEPER_PORT
addNode CLUSTER_NAME NODE_NAMEUNIQUE_ID)
- Type the following script to add cluster node one
./helixadmin.sh
zkSvr XX.XX.XXX.XX:2181 addNode repoCluster node1
- Type the following script to add cluster node two
./helixadmin.sh
zkSvr XX.XX.XXX.X:2181 addNode repoCluster node2
2.2.5 Add resources to the cluster
- Type
the following command and enter,
./helixadmin.sh
zkSvr 10.11.164.80:2181 addResource repoCluster vfsrepo 1
LeaderStandby AUTO_REBALANCE
-
Rebalance
the cluster.
./helixadmin.sh
zkSvr 10.11.164.80:2181 rebalance repoCluster vfsrepo2
-
Start
the Helix controller in BRMS Server 1
-
Log
in to your server one machine and navigate to your Helix
installation home folder.
/opt/helixtools/helixcore0.6.2incubatingredhat1/bin
-
Navigate
to helix bin directory and run the controller
./runhelixcontroller.sh
zkSvr XX.XX.XXX.XX:2181 cluster repoCluster 2>&1 >
/tmp/controller.log &
-
Start
the Helix controller in BRMS Server 2
./runhelixcontroller.sh
zkSvr XX.XX.XXX.XX:2181 cluster repoCluster 2>&1 >
/tmp/controller.log &
2.2.6 Modify the standalone.xml file in the
standalone EAP server ONE
-
Login
to your standalone server one machine and navigate to your JBoss EAP
server installation home folder
-
Navigate
to server standalone/configuration folder folder
/jbosseapserver1/standalone/configuration
-
Edit
the standalone.xml
##
your custom location of git repo and index directory, by default it
created in the
server
bin folder, if you want to change location you can use these property
to change
<systemproperties>
<property
name="kie.maven.settings.custom"
value="/opt/apachemaven3.2.2/
conf/settings.xml"/>
<property
name="org.kie.example" value="${org.kie.example:false}"/>
<property
name="org.jbpm.designer.perspective"
value="${org.jbpm.designer.perspective:ruleflow}"/>
<property
name="org.uberfire.nio.git.dir" value="/opt/bpmsgitDir/repo
"/>##
<property
name="org.uberfire.metadata.index.dir"
value="/opt/bpmsgitDir/index" />##
<property
name="jboss.node.name" value="node11"/>
<property
name="org.uberfire.cluster.id" value="repoCluster"
/>
<property
name="org.uberfire.cluster.zk" value="xx.xx.xxx.xx(host):2181"
/>**
<property
name="org.uberfire.cluster.local.id" value="node1"
/>
<property
name="org.uberfire.cluster.vfs.lock" value="vfsrepo"
/>
<property
name="org.uberfire.nio.git.deamon.port" value="9418"
/>
<property
name="org.uberfire.cluster.autostart" value="false"
/>
<property
name="org.uberfire.nio.git.ssh.port" value="8003"
/>
<property
name="org.uberfire.nio.git.daemon.host" value="provide
your server 1 ip
address"
/>
<property
name="org.uberfire.nio.git.ssh.host" value="provide
your server 1 ip
address"
/>
</systemproperties>
2.2.7 Modify the standalone.xml file in the
standalone EAP server TWO
-
Login
to your standalone server two machine and navigate to your JBoss EAP
server installation home folder
-
Navigate
to server standalone/configuration folder folder
/jbosseapserver2/standalone/configuration
-
Edit
the standalone.xml
##
your custom
location of git repo and index directory, by default it created in
the
server
bin folder, if you want to change location you can use these property
to change
<systemproperties>
<property
name="kie.maven.settings.custom"
value="/opt/apachemaven3.2.2/
conf/settings.xml"/>
<property
name="org.kie.example" value="${org.kie.example:false}"/>
<property
name="org.jbpm.designer.perspective"
value="${org.jbpm.designer.perspective:ruleflow}"/>
<property
name="org.uberfire.nio.git.dir"
value="/opt/bpmsgitDir/repo"/>##
<property
name="org.uberfire.metadata.index.dir"
value="/opt/bpmsgitDir/index"/>##
<property
name="jboss.node.name" value="node22"/>
<property
name="org.uberfire.cluster.id" value="repoCluster"/>
<property
name="org.uberfire.cluster.zk"
value="HOST_ID:2181"/>**
<property
name="org.uberfire.cluster.local.id" value="node2"/>
<property
name="org.uberfire.cluster.vfs.lock" value="vfsrepo"/>
<property
name="org.uberfire.nio.git.deamon.port" value="9418"
/>
<property
name="org.uberfire.cluster.autostart" value="false"/>
<property
name="org.uberfire.nio.git.ssh.port" value="8003"/>
<property
name="org.uberfire.nio.git.daemon.host" value="provide
your server 2 ip
address"
/>
<property
name="org.uberfire.nio.git.ssh.host" value="provide
your server 2 ip
address"
/>
</systemproperties>
-
Start
the Cluster Servers in in HA mode and Test the Installation
-
Start
the Standalone EAP Server One in HA mode
Djboss.node.name=node1
must match the standalone.xml file org.uberfire.cluster.local.id
property value
./standalone.sh
c standaloneha.xml b XX.XX.XXX.XX u 230.0.0.4 Djboss.node.name=node1
-
Start
the Standalone EAP Server Two in HA mode
Djboss.node.name=node2
must match the standalone.xml file org.uberfire.cluster.local.id
property value
./standalone.sh
c standaloneha.xml b XX.XX.XXX.XX u 230.0.0.4 Djboss.node.name=node2
-
Check
the mod_cluster console for server status, it should list all the
running instances in the cluster
http://HOST_NAME:6666/mod_cluster_manager
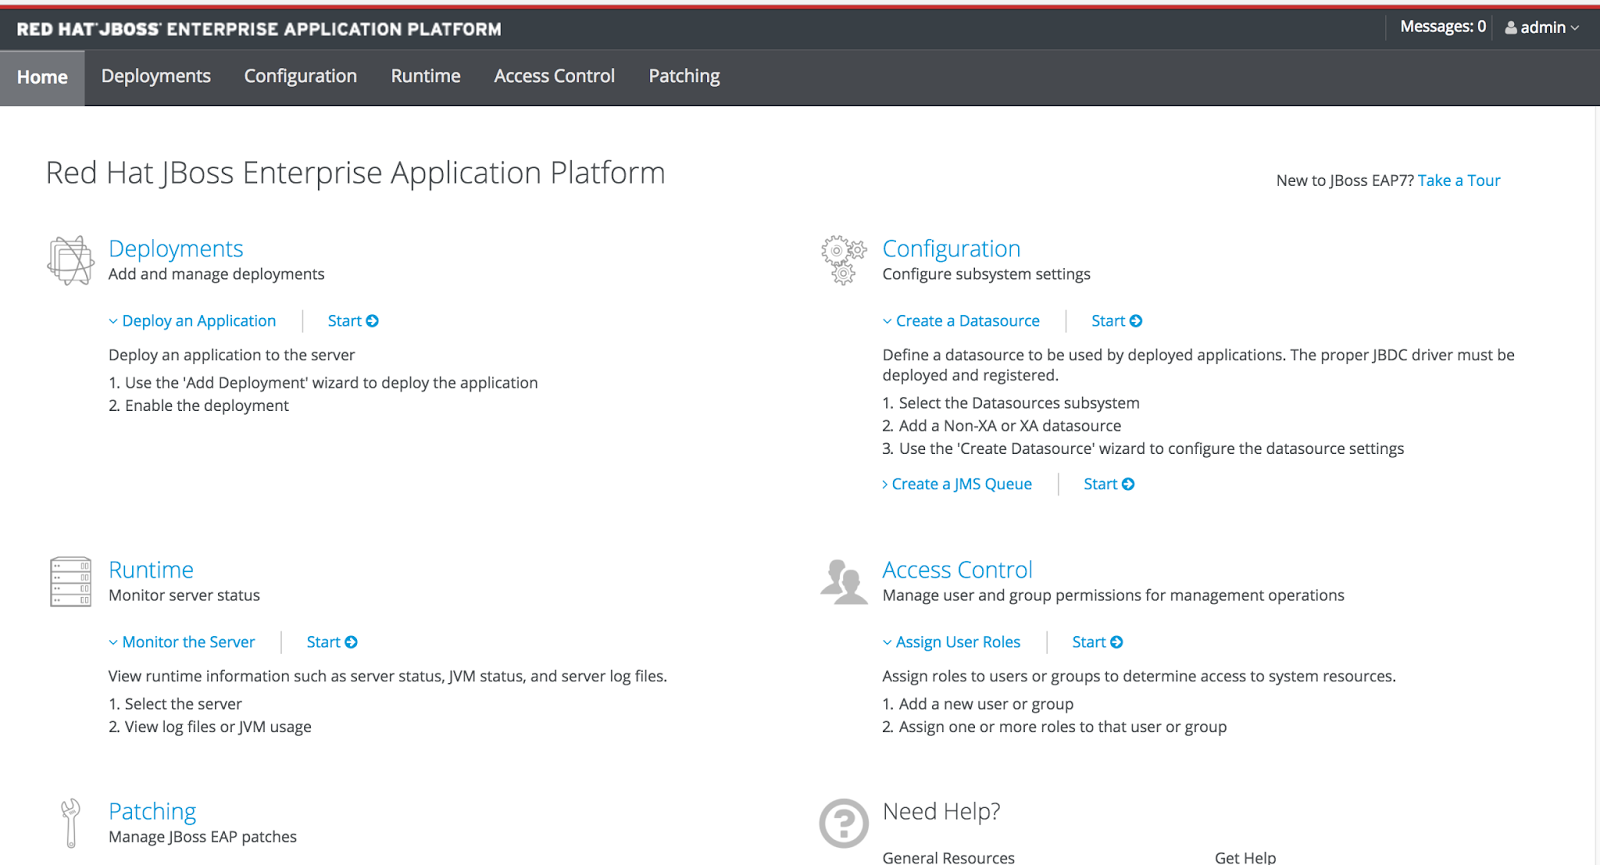
-
Open
a new browser window, and enter BRMS business central url for server
one
http://HOST_NAME_1:8080/businesscentral/
-
Log
in to business central, and create a rule project in server one and
save it
-
Open
a new browser window, and enter BRMS business central url for server
Two
http://HOST_NAME_2:8080/businesscentral/
-
Log
in to business central and you can able to see the rule project
created in server one. Do some some changes in that project and save
it.
-
Now
log in back to server one business central and you can see the
updated rules in the server one.
Rebalance
the cluster.
Start
the Helix controller in BRMS Server 1
Log
in to your server one machine and navigate to your Helix
installation home folder.
Navigate
to helix bin directory and run the controller
Start
the Helix controller in BRMS Server 2
Login
to your standalone server one machine and navigate to your JBoss EAP
server installation home folder
Navigate
to server standalone/configuration folder folder
Edit
the standalone.xml
Login
to your standalone server two machine and navigate to your JBoss EAP
server installation home folder
Navigate
to server standalone/configuration folder folder
Edit
the standalone.xml
Start
the Cluster Servers in in HA mode and Test the Installation
Start
the Standalone EAP Server One in HA mode
Start
the Standalone EAP Server Two in HA mode
Check
the mod_cluster console for server status, it should list all the
running instances in the cluster
Open
a new browser window, and enter BRMS business central url for server
one
Log
in to business central, and create a rule project in server one and
save it
Open
a new browser window, and enter BRMS business central url for server
Two
Log
in to business central and you can able to see the rule project
created in server one. Do some some changes in that project and save
it.
Now
log in back to server one business central and you can see the
updated rules in the server one.
3. Maven Nexus Repository Manager HA Setting
3.1
Cluster Information
Red Hat Enterprise Linux HighAvailability clustering was configured on both nodes with communication via unicast in a
cluster called "MavenHA". The cluster is comprised of 2
nodes maven{1,2}, a gfs2 volume (/repository), a floating ip
(corresponding to the fqdn maven.rdu.salab.redhat.com), and a
"Script" resource that will utilize the nexus provided init
script to start and stop the service. The service is configured to
prefer node 2 and only operate in an Active/Passive role as the Nexus
software uses a lock file to restrict operation against a given
repository to a single host.
3.1 Cluster Information
Note:
In Red Hat Enterprise Linux 6,
In Red Hat Enterprise Linux 6,
luci controlled both Red Hat Enterprise Linux 5 and Red Hat Enterprise Linux 6 high availability clusters.
Red Hat Enterprise Linux 7 removes
luci and replaces it with pcs. pcs can control only Red Hat Enterprise Linux 7 pacemaker-based clusters. It cannot control Red Hat Enterprise Linux 6 rgmanager-based high availability clusters. If you want to use RHEL7 instead of RHEL6.5 for maven cluster, please use RED HAT document for pcs cluster information.